5 Unique Tips When Choosing to Repaint the Interior of Your Home
Once you’ve lived on your own long enough, there may come a time when you look at the walls of your living room and decide they need a fresh coat of paint. Choosing the right materials and preparing the space can seem like a daunting task, but we have a few painting preparedness tips for you that will make the job go smoothly.
1. Move Furniture to a Storage Unit
Before you start painting anything, consider moving large items of furniture into an off-site storage unit. Painting your home’s interior walls is hard enough without having to maneuver around your furniture and worry about either damaging it or getting paint on it accidentally. A storage unit is a great way to remove unnecessary distractions and keep your furniture looking pristine.
2. Mask the Room
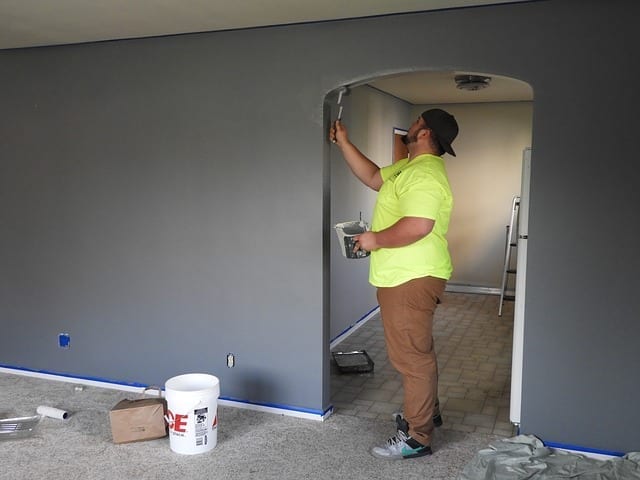
With your furniture safely out of the way, it’s now time to do what the experts call masking the room. This process involves covering the floors and any trim you don’t want to paint. It’s another step that will streamline the process and save you from potential hassles later. Two of the most important things you’ll need are painter’s tape, which is less adhesive than other types and drop cloths to put on large areas such as the floor. The drop cloth is durable and will catch paint splatters easily. You can use the painter’s tape to seal off the corners of the fabric as well as any trim you don’t want to paint.
3. Paint in Order
If you’re painting an entire room, it’s a good idea to do it in a particular order. For the best and easiest results, you should start with the trim since it is both easier and quicker to tape it off than to tape off entire sections of the wall. After you paint the trim, do the ceiling and end with the walls.
4. Roll Paint On the Edges
You’ll likely paint surface edges with a small brush for accuracy, but these areas will have a different texture from the walls if you leave it at that. To ensure an even surface throughout the room, you should use a roller along the edges after you have coated them with a brush.
5. Cut Painter’s Tape
After the room has dried, you shouldn’t just rip away the painter’s tape. Although it is less adhesive than other kinds, it will still chip the paint. Instead, use a small utility knife to cut the tape away from the walls, ensuring that the smooth new finish remains intact.
These are just a few tips you can use to make re-painting your interior rooms a quick process that you’ll only need to do once.
Sources
